In another example of our unending quest to give you everything you ask for and more I present to you my guide for making your own watermelon hookah vase. It takes a little work but it’s an eye catching conversation starter for those party nights and can actually enhance the flavor of your smoke a bit.
In short to make a watermelon hookah:
- Slice Off the Very Bottom of Watermelon
- Measure & Fit The Stem
- Hollow Out the Watermelon
- Use the Watermelon Juice Instead of Water
- Add Silicone Grommets
- Add the Bowl & Happy Smoking
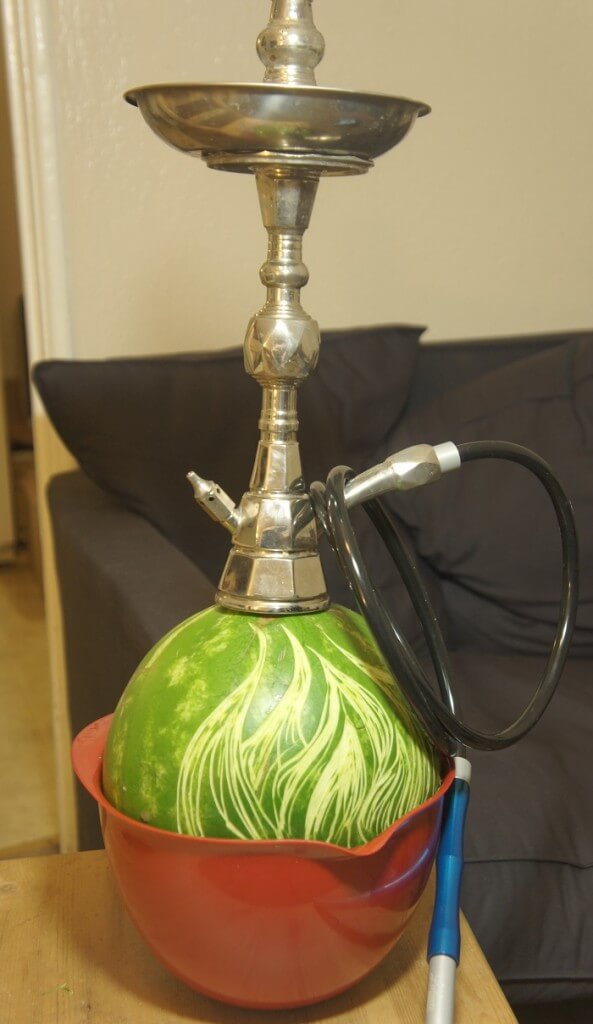
Below you can see the completed hookah looking cool and waiting to be smoked. it really is just a watermelon hollowed out and turned into a vase. The most important factor and where most people seem to hit a roadblock is keeping everything sealed. They cut off the top, hollow the watermelon, cut a hole in the top and then fit the pieces back together. This leaves you with a giant seam all around the watermelon, a massive air leak and a ruined session. Some will resort to duct-tape, wet paper towels and countless other solutions to fix this problem while avoiding the real solution because it’s a little more work.
Slice Off the Very Bottom of Watermelon
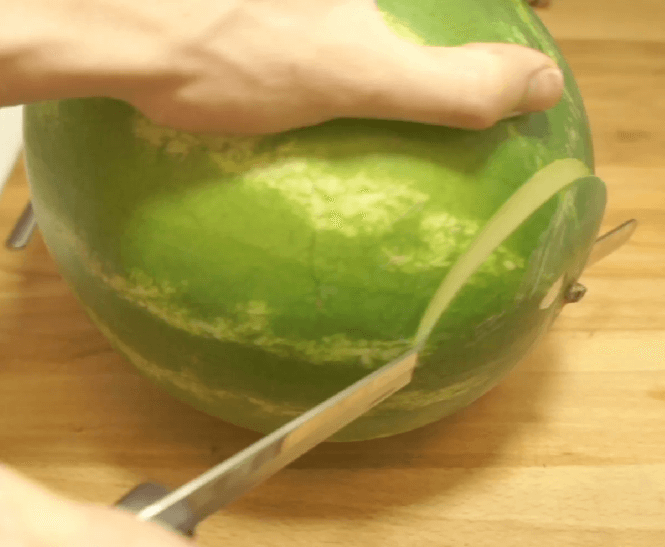
I start by slicing off the very bottom of the watermelon, taking off just enough to create a flat surface without cutting past the pith (the white part under the skin). I do this just so everything is stable. The last thing I need to do is use a very sharp knife on a very wobbly watermelon. I don’t have any free time as it is and a trip to the ER wouldn’t help that situation.
Measure & Fit The Stem
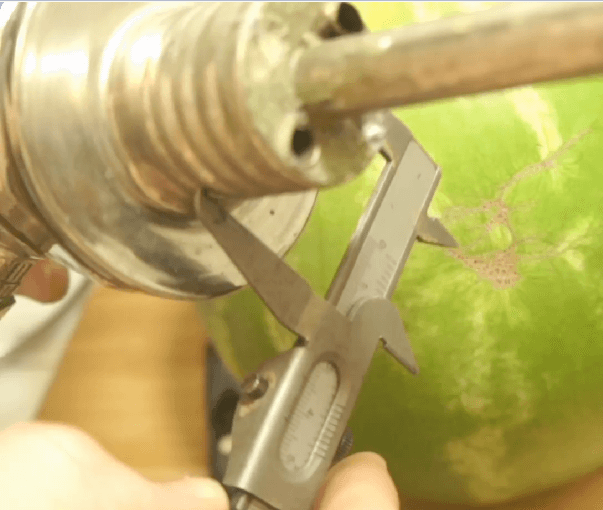
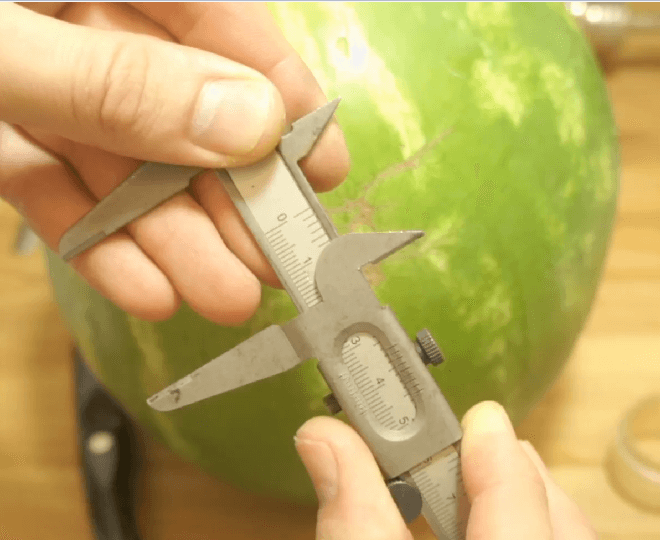
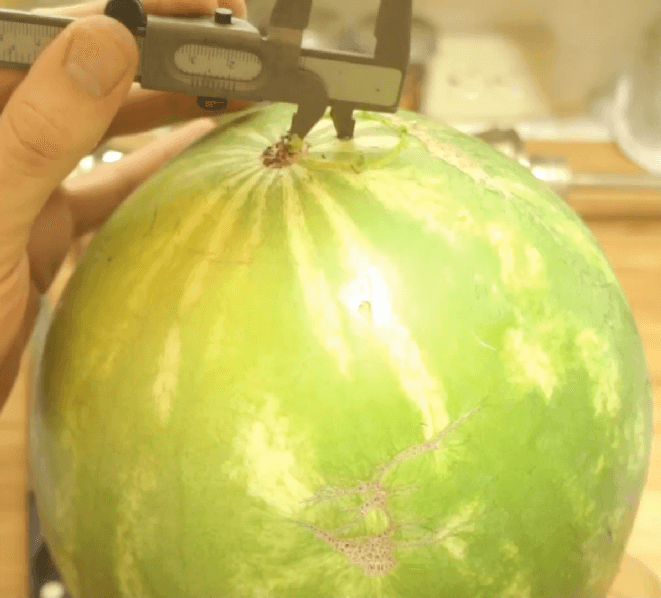
Next come the calipers. I measure the width of the stem where it normally fits into the vase, cut that measurement in half and use the points of the calipers to scribe a neat circle on the top most portion of the watermelon. These are not something that every house will have but you can achieve the same effect by wrapping a strip of paper loosely around that point on your stem, taping it shut and using the resulting tube to trace a circle on your watermelon with a marker or pen. Always make it a little smaller than you originally marked because you want a tight seal and it’s easier to shave a little more off then to try and close up a gap.
Hollow Out the Watermelon
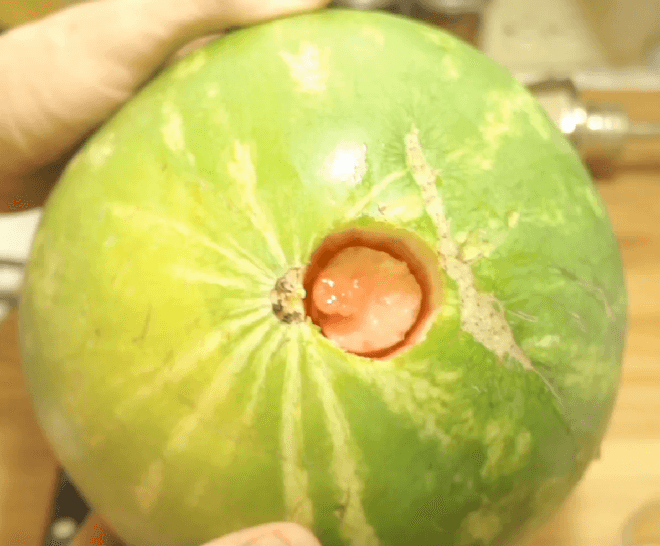
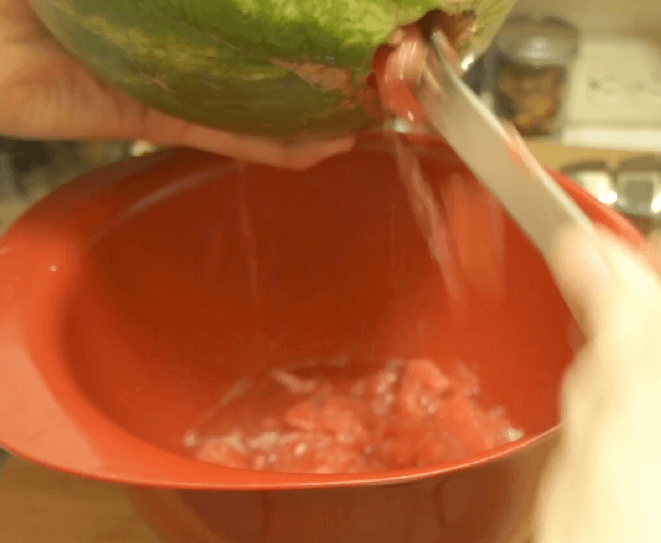
The tricky part comes next when we are faced with making space inside this mass of fruit. I use a combination of knives, spoons and a grill fork to hollow out the watermelon and break up the chunks to they can pass through the opening. Remember that you don’t need to get it entirely hollow and all that matters is creating enough space for the stem and a bit of water while clearing out chunks that could clog the stem. Be careful to not poke through the skin and doubly careful to not poke through the bottom. Do so and you’ll have watermelon juice everywhere.
Watermelon Juice Instead of Water
Once you feel you have enough space inside your hookah that the stem will be clear of the walls it’s time to fit it all together. I like to use the watermelon juice in place of water because it actually adds a nice, subtle watermelon flavor to your watermelon hookah. It can be hard to judge the proper amount of water/juice that you need but I’ve found that the volume of juice is usually pretty close to perfect and only needs a little topping of with clean water.
Add Silicone Grommets
Silicone grommets with fins are best for situations like this because they conform more easily to shapes that are less than perfectly round. You can also replace this with the wet paper towel trick but it’s not as stable and can be a little wobbly even if it is well sealed.
You’ll notice that my watermelon hookah is in a bowl. That’s to further stabilize but it also catches any dripping juice that may occur. At the very least you should have this hookah on a plate or cookie sheet. Use something with walls that will catch spills on the off chance that it leaks. Even a small hole will slowly drain the vase and it can be easy to poke one without noticing as you hollow out the inside. Better safe than sorry.
Add the Bowl & Happy Smoking
That’s the whole process from beginning to end. It’s messy and a fair amount of work but it outperforms every other method I’ve seen. Try this for yourself and make sure to let me know what you think in the comments below, on the forums or on our video guide on YouTube.
Until next week, happy smoking.
